Refurbishing Whiteboards
- Skylar Castator
- Nov 16, 2023
- 3 min read
Updated: Feb 13, 2024
This is just a quick project I figured I would post because I didn't see any good posts online about it. Basically what happened was that I found a whiteboard on Facebook market for $10. Too good to be true right?

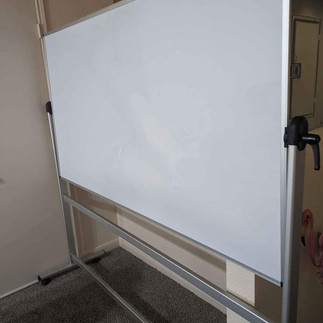


Looks like it's in good condition, and look how much I would be saving versus getting it on Amazon! What could go wrong?

What Could Go Wrong....
So I go pick it up, first way bigger than I thought it would be but totally fine. My problem was there were huge warps on the whiteboard on both sides. What I could tell was there were air bubbles that got under the frame and couldn't escape.
Taking it Apart

The first thing I needed to do was remove the whiteboard from the cart. Pretty easy process, just had to look up the instructions online and make sure I don't break anything. This got me to the point where I could lay the whiteboard flat on the ground.
Can I get the warps out now? Nope! the whiteboard can't shift the air bubbles because the outside frame is holding onto the spots that it should be able to escape.


To remove the frame I just got a flat-head screwdriver and then pry the outside edges out. Once those are removed, I want to strip off the longer sides of the frame. Finally, we can get in between the white board and the compound board.

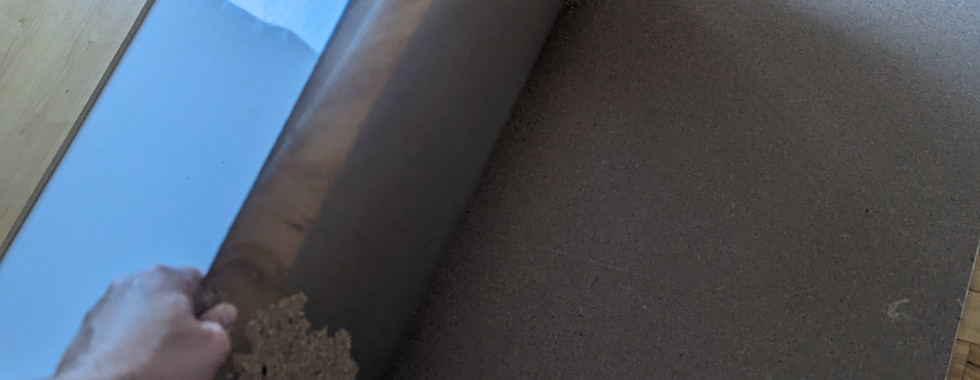
What we find once we start prying off the edges of the whiteboard is that there is only a little bit of the frame that still has any glue connecting the whiteboard and the compound board. We just want to carefully roll it back not to bend the whiteboard material.
NOTE: Do Not Entirely Strip OFF the Whiteboard Panel, this will make it harder to reattach to the wood because it can slip around.
Perfect now that we have been able to split the 2 materials the air bubbles are now removed! But how do we make sure this doesn't happen again? When in doubt use would glue. Cover the wood in glue and then lay down the whiteboard material back onto the wood itself. Make sure there are no air bubbles in this process and then lay long pieces of wood over the material with weight to clamp the whiteboard into position.


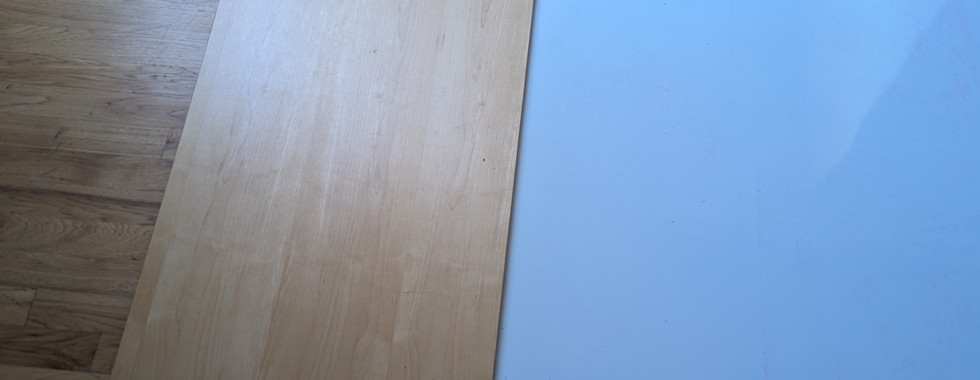
Wait for the wood glue to dry flip it over and do the other side!
At this point, the white board should be completely flat on the ground. You can test by moving your hand over the board, you'll not only feel like there is nothing moving underneath but you won't hear in crackles of the material moving underneath adjusting the compound board.
Putting it All Back Together

After letting it dry. (You should really wait..) Now its time to put the frame back on.
Put glue inside of the frame along the seam. Once you get the glue on, start on one corner and fit it into place not damage the frame. Move it along the whiteboard until it is fully connected.
Next do the same with the sides of the frame by first plugging in the connections to the other frame bits and then moving them into place with the glue. Let it dry. Reattach the hardware as described in the original manual and finally, we have a perfectly good whiteboard we can use!

Conclusion
So not the most technical project in the world, but a fun one. It's nice to know that I can do custom repairs on random projects like these and to make things seem like new. Most of all I have a whiteboard for more of my projects and to make diagrams for different engineering/ software projects.
What I'm really looking forward to is getting a workshop soon. Once I move into there, I can start doing more carpentry, blacksmithing and other DIY projects so stay tuned!